WordPress Launch Checklist: 25 Things to Verify Before You Push a Site Live, With or Without AI
A WordPress site can go live with its search engine visibility setting still disabled after staging. The site itself may look finished, but search engines are still being told not to index it. It is a small setting, easy to miss at the end of a long build, and worth checking before every launch.
Sometimes the mistake is simpler: debug.log sits in /wp-content/, publicly downloadable. If publicly accessible, that file may expose paths, warnings, and other implementation details.
Once a site is public, review administrator accounts and authentication settings as part of the handoff. Remove unused accounts, avoid keeping the default admin account, and enable two-factor authentication where appropriate.
Many of these checks are simple on their own, but they are scattered across WordPress settings, server files, plugin screens, and handoff documents. At the end of a long build, it is easy to forget which ones you have already checked and which ones are still unfinished.
This checklist groups them into 25 things to check before launch, followed by a tool that supports several of the repetitive WordPress-specific steps.
Section 1: Content & Editorial
Before anything technical, walk the site the way a first-time visitor would.
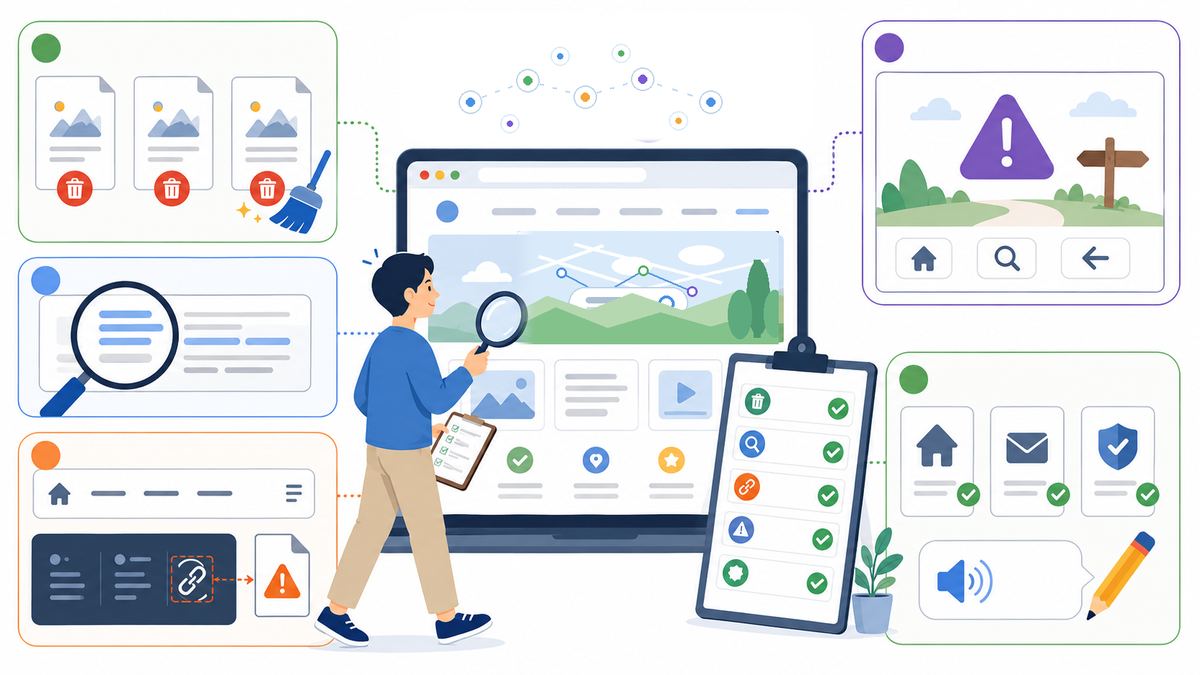
1. Delete test posts, dummy pages, and "Hello World" leftovers.
A fresh WordPress install may include sample content, and development often adds temporary posts or pages along the way. Search your post list for "test", "sample", and "hello" before you call it done.
2. Hunt down Lorem Ipsum and placeholder text.
Placeholder text often remains in footers, captions, tabs, or other less frequently reviewed areas. A site-wide search for common placeholder terms, such as "lorem," "TODO," "sample," or "test@example.com," is quick and catches text that is easy to miss during a visual review.
3. Check menus and footers for links to unpublished, removed, or incorrect destinations.
A link to an unpublished page may not work for logged-out visitors, even if it appears normal while you are logged in as an administrator. Developers usually stay logged in while working, so this is easy to miss.
4. Test every form and confirm where the messages arrive.
Test each contact, inquiry, signup, or application form in the production environment before final handoff, or immediately after launch if the public URL is required. Confirm required-field validation, the success message or redirect, delivery to the intended inbox, and any automatic reply.
5. Proofread the pages people actually read first.
Prioritize high-traffic and high-consequence pages, such as the home page, contact page, service pages, and legal information. Read them out loud once; your ear catches what your eye skips.
Section 2: SEO & Discoverability
SEO problems are easy to miss because many of them do not change how the site looks.
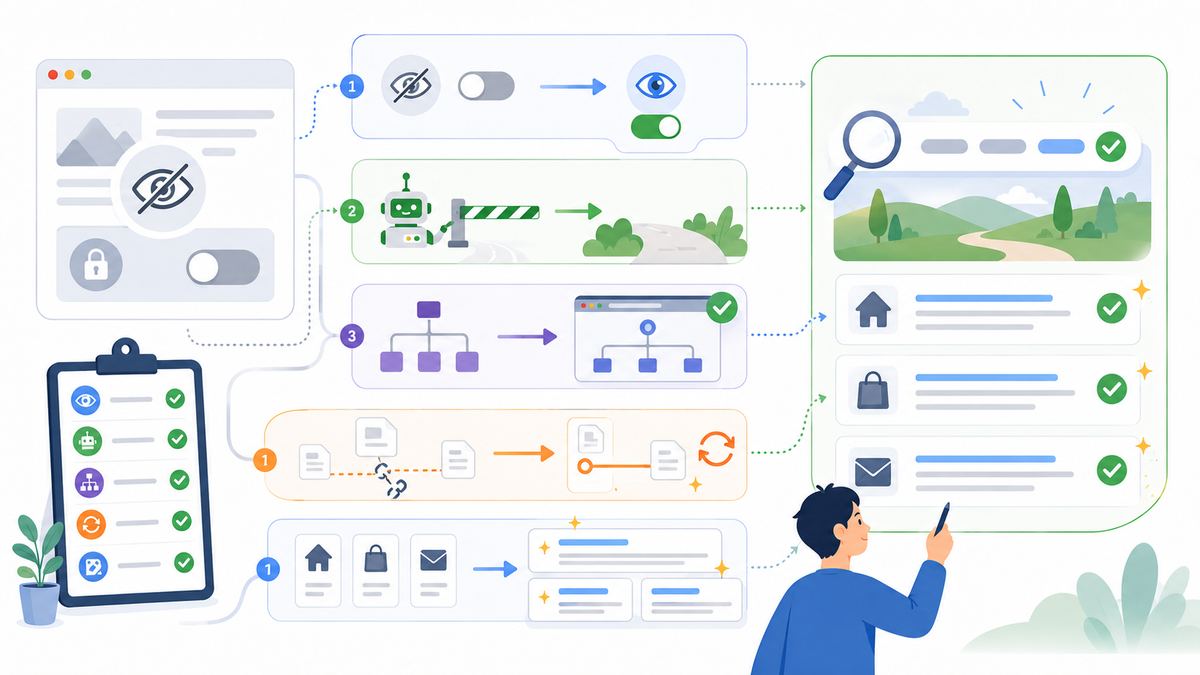
6. Confirm the site's search engine visibility setting.
Settings → Reading. This is the checkbox from the intro that asks search engines not to index the site. This setting is commonly enabled on staging sites. Before launch, confirm that its final value matches the site's indexing requirements.
7. Confirm robots.txt isn't blocking what it shouldn't.
Visit yoursite.com/robots.txt and read it. If a staging-specific rule remained after migration, you may find it there.
8. Submit your sitemap to Google Search Console.
Once the production site is publicly accessible, submit or verify its sitemap in Google Search Console. Google can discover pages without a submitted sitemap, but submitting one makes discovery and indexing status easier to monitor in Search Console.
9. Confirm the permalink structure and flush rewrite rules if needed.
Settings → Permalinks. Avoid changing an established URL structure just for readability, since this can break existing links and hurt SEO on a site with history. If the permalink structure or registered rewrite rules changed during development, flush the rules and verify key URLs no longer return unexpected 404s.
10. Write useful title tags and meta descriptions for key pages.
At minimum: home, main service or product pages, and contact. Google may use them in search results, although snippets can be rewritten depending on the query.
Section 3: Security & Access Control
Public sites can attract automated scanning, so review access and production settings before handoff.
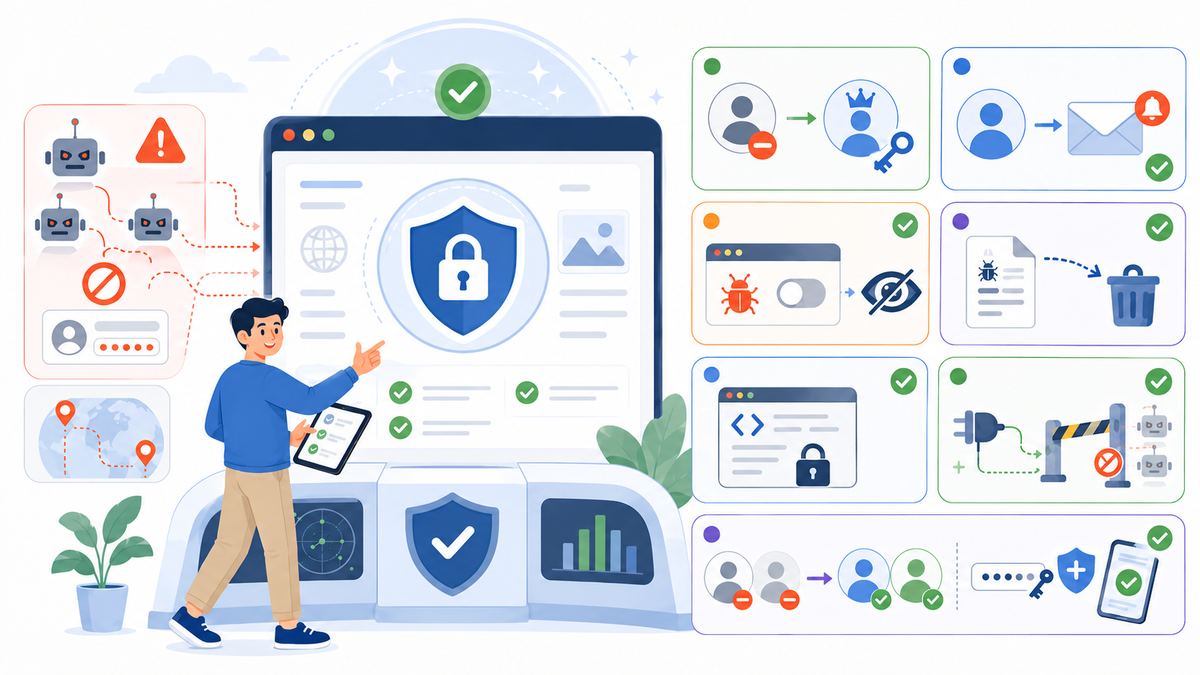
11. Replace the default admin account if it still exists.
Avoid keeping the default admin account. Treat this as basic hardening, not a substitute for strong passwords or two-factor authentication. Create a replacement administrator account with a non-default username, log in as it, delete the old one, and reassign content.
12. Confirm the admin email points to an actively monitored address.
Settings → General. WordPress and installed plugins may use this address for administrative notifications, recovery messages, and update-related alerts.
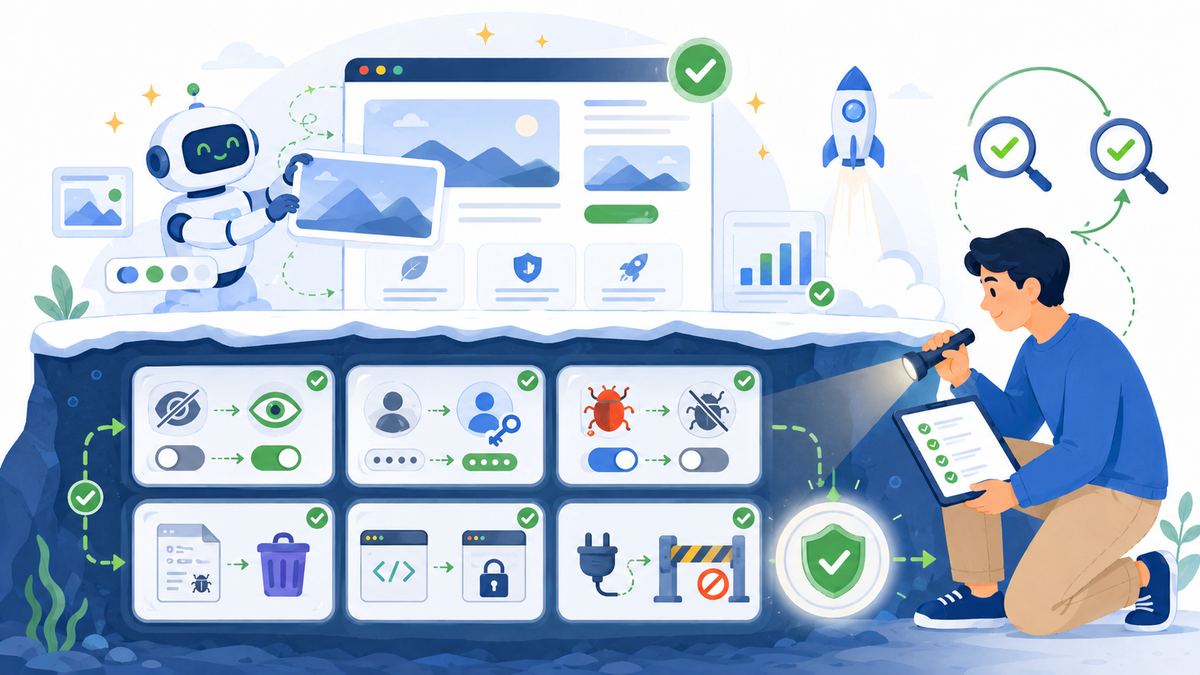
13. Disable WP_DEBUG in production unless it is deliberately configured.
In wp-config.php, set WP_DEBUG to false unless you have a deliberate logging setup. Depending on the server configuration, debug output may be displayed or written to a log containing implementation details that should not be exposed publicly.
14. Confirm debug.log is not unintentionally exposed or left behind.
Turning debugging off does not remove an existing log. Check whether /wp-content/debug.log remains accessible and remove it if it is no longer needed.
15. Set DISALLOW_FILE_EDIT to lock the built-in code editor.
One line in wp-config.php removes the theme/plugin editor from the dashboard. This reduces the damage an attacker or an accidental administrator edit can cause from the dashboard. This is a hardening recommendation rather than a requirement for WordPress to function correctly.
16. Confirm whether XML-RPC is required.
XML-RPC may still be required by Jetpack, mobile apps, or external publishing tools. If the site does not rely on XML-RPC, disabling it removes an interface you otherwise do not need to maintain or expose.
17. Remove unused accounts and strengthen administrator authentication.
Remove temporary, migration, former developer, and other unused accounts. Where the site's authentication setup supports it, enable two-factor authentication for administrator accounts.
Section 4: Performance & Cleanup
Cleanup is easiest to do before launch. It tends to get harder after handoff, when every change has to be considered against a live site.
18. Deactivate AND delete plugins and themes you don't use.
Deactivated plugins still leave their files on the server, and some vulnerabilities can still matter even when a plugin is inactive, so remove plugins you no longer need. Remove themes that are genuinely unused, while keeping any required parent theme and, if desired, a current default theme for troubleshooting.
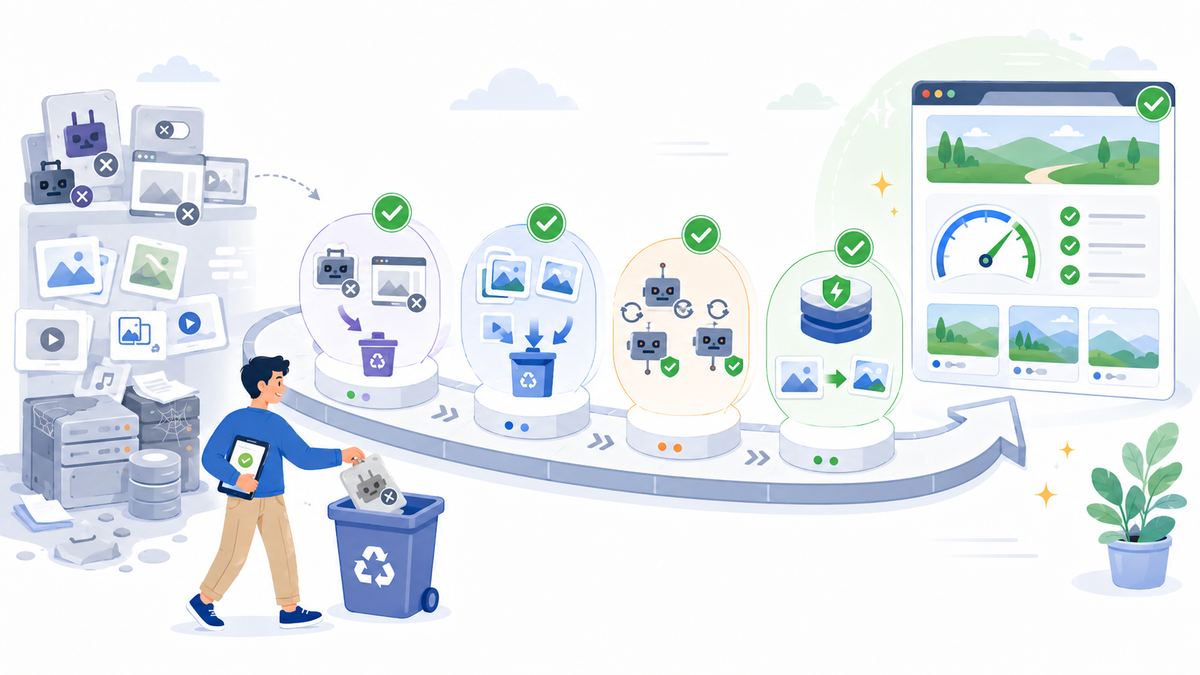
19. Review and remove media files that are genuinely no longer needed.
Test uploads, rejected assets, and obsolete versions of images can inflate backups and make migrations slower.
20. Review the maintenance status of every remaining plugin.
A long gap since the last update is a reason to review a plugin, not proof that it is vulnerable. Check compatibility, support status, changelogs, and whether it is still needed.
21. Check performance on production hosting and address the actual bottlenecks.
Test key pages on production, especially on mobile and while logged out. Page caching and image optimization are common starting points, but they are not a complete performance review. Hosting-level caching, a CDN, or dynamic page types can all change what actually needs attention.
Section 5: Client Handoff & Documentation
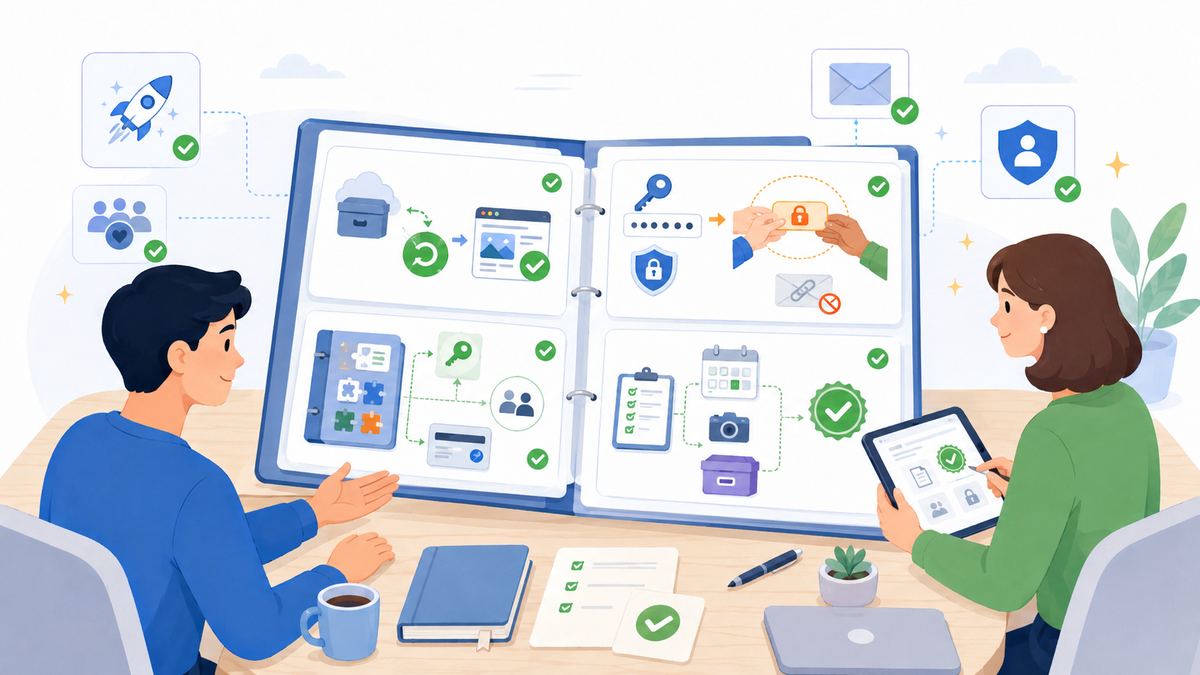
The launch isn't finished when the site works. It's finished when someone else can run it.
22. Confirm the backup and restore plan.
A successful backup job does not guarantee that the restore process will work when you need it. Confirm that a current backup exists and that the restore process is documented. For higher-risk sites, test the restore in a safe environment before handoff.
23. Hand over credentials securely.
No passwords in email threads. Use a password manager's sharing feature or a one-time secret link, and change anything that was shared insecurely during the build.
24. Document what you built and who owns which license.
Which plugins are premium? Whose account renews them? Where's the hosting billed? This record saves time later when someone needs to confirm renewal ownership, billing, or maintenance responsibility.
25. Keep a dated record of what you checked.
Keep a dated record of what was checked and any issues that were resolved. It gives the client a clear handoff record and gives you something concrete to refer back to if questions come up later.
Section 6: What AI-Assisted WordPress Builds Still Need Before Launch
What should I check before launching a WordPress site built with AI?
Short answer: the same checks as any WordPress launch: noindex, WP_DEBUG, test content, debug.log, plus extra attention to production settings and handoff tasks that sit outside the visible page-building workflow, such as administrator accounts and remote access features.
AI-assisted development is a valid way to build a WordPress site, but it does not replace a production and handoff review. AI cannot reliably infer your hosting, deployment, maintenance, and handoff requirements unless those requirements are part of the task and reviewed explicitly. Production and handoff requirements are easy to omit when the task is focused mainly on implementation: administrator accounts, debug configuration, the file editor, and XML-RPC are examples of settings that may sit outside the implementation task. AI-assisted changes can also introduce ordinary implementation mistakes, so the final review still matters.
If your site came from an AI builder or a vibe-coding session, pay particular attention to items 6, 11, 13, 14, 15, and 16. Noshi-Kanamer, covered next, automates several of these checks.
Section 7: Automate the Boring Parts with Noshi-Kanamer
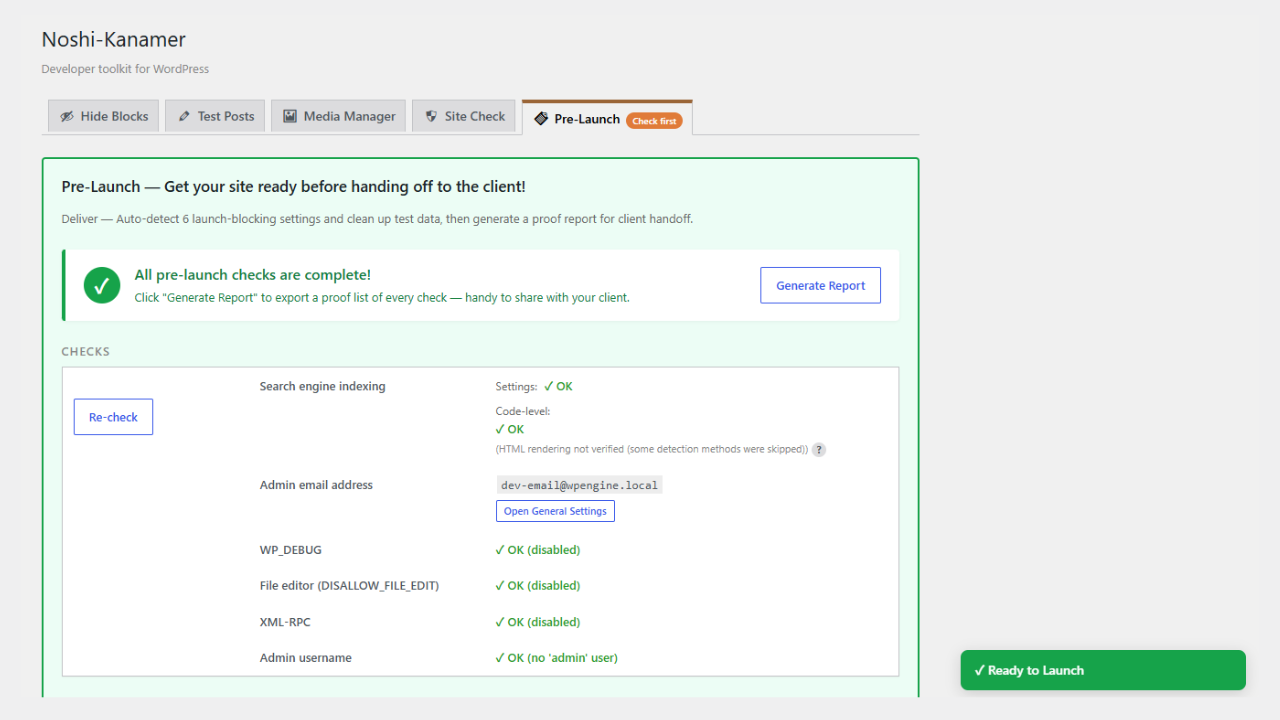
Noshi-Kanamer is a free WordPress plugin that supports parts of 12 of the 25 items above through automatic checks, cleanup actions, review aids, and reporting. Install it, open the Pre-Launch tab, and it checks:
Common noindex conditions, including the WordPress reading setting and detectable code-level directives (item 6)
Default admin username (item 11)
Admin email address, shown so you can confirm it points somewhere useful (item 12)
WP_DEBUG left on (item 13)
debug.log present on the server (item 14), with one-click deletion
DISALLOW_FILE_EDIT not set (item 15)
XML-RPC left open (item 16)
It also handles the cleanup actions: bulk-delete its own test posts (item 1), flush rewrite rules (item 9), and flag media with no detected references for review (item 19). The Site Check tab flags plugins last updated 6+ months or 1+ year ago, which helps with the maintenance review in item 20.
Item 25 means keeping a record across all 25 checks, not just the ones a plugin can run. Generate Report covers its part: a dated, plain-text export of the Pre-Launch results currently included in the report, along with selected cleanup and Site Check status, ready to paste into a broader handoff record.
The Pre-Launch tab after every check clears, with Generate Report ready to export.
Noshi-Kanamer does not automate the remaining thirteen items: writing a meta description, proofreading a page, deciding whether a permalink reads well, and similar tasks. The remaining items still need human review because they depend on content, project requirements, or client decisions.
Section 8: How to Install
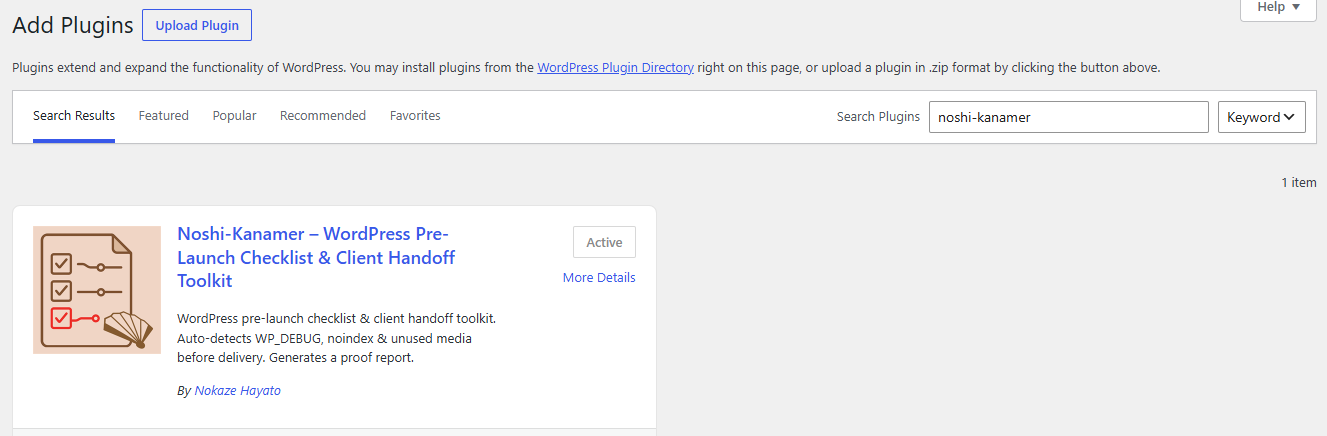
From your WordPress dashboard: Plugins → Add New → search "noshi" → Install → Activate. No manual file upload is required with this method.
You can also download the zip from the plugin page and upload it from Plugins → Add New → Upload Plugin, or extract it into wp-content/plugins/.
Once activated, look for Noshi-Kanamer in your sidebar and open the Pre-Launch tab.
I am considering a Pro version for developers who want to turn their launch results into a client-facing handoff report: AI-Assisted WordPress Handoff Report.
The core report would be useful for regular WordPress handoffs as well as AI-assisted builds. Planned features include a branded PDF export, per-item pass/fail notes, and a signature line. For AI-assisted projects, I am also considering an optional plain-language summary of what was checked and why it matters, for non-technical stakeholders.
Pricing is currently planned at a one-time $19, with no subscription.
If that would help with your handoff workflow, leave your email below. I'll send one email when it's ready. No newsletter.
Outro: About & Feedback
This checklist is maintained by the developer of Noshi-Kanamer and updated as WordPress evolves. Found a check that should be here? Tell me. The goal is to keep this as a reusable checklist rather than something developers have to reconstruct for each project. This page pairs with my pre-launch checklist article on dev.to.